home design

Hello March by Kathy Hochstetler

Are You READY for Spring?

Okay, so it’s not just me, then…

These Ohio winters never seem to end, am I right? During these winter months, we take the time to put our heads down and create. John and I have been working hard to add some new furniture and decor to the studio.

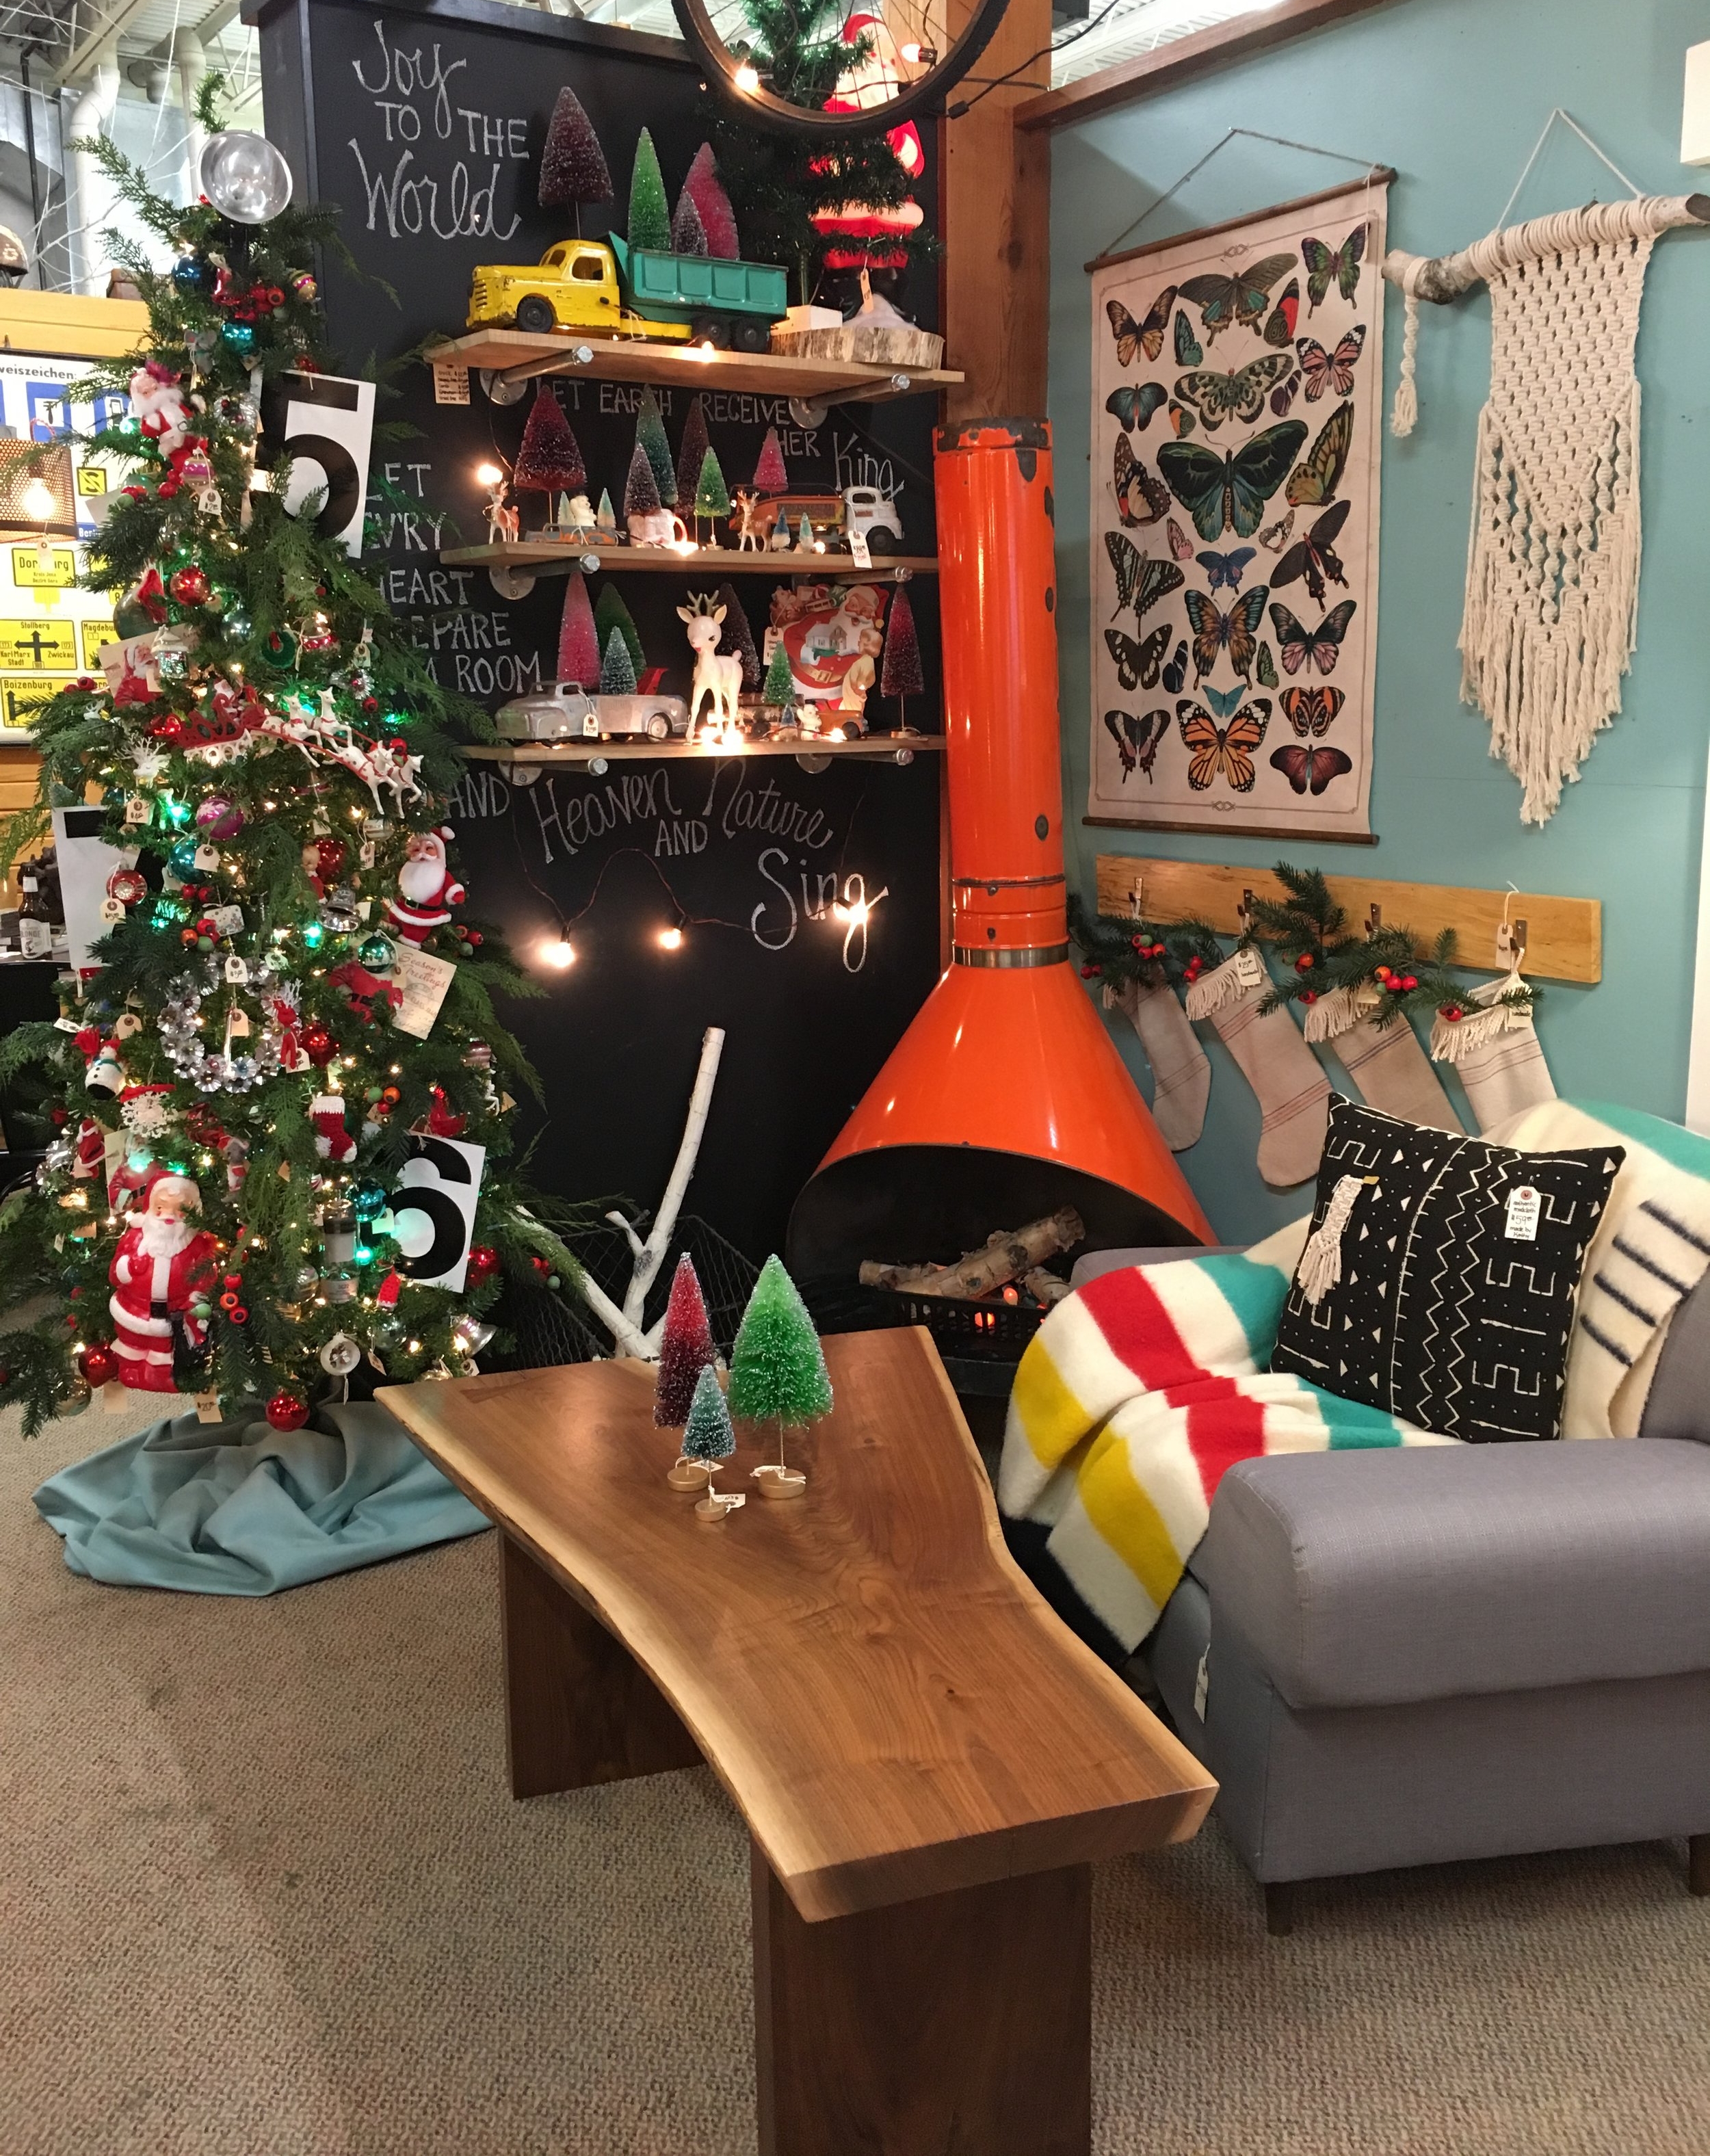
What do you think of this reclaimed coffee table? The concept with this piece is multipurpose. It would be perfect to do homework, computer work, even eat your meal while watching a movie and, of course, it is a great place for your coffee cup and favorite book. John and I found the reclaimed legs at the last flea market we attended. The layers of paint were hard to pass up!

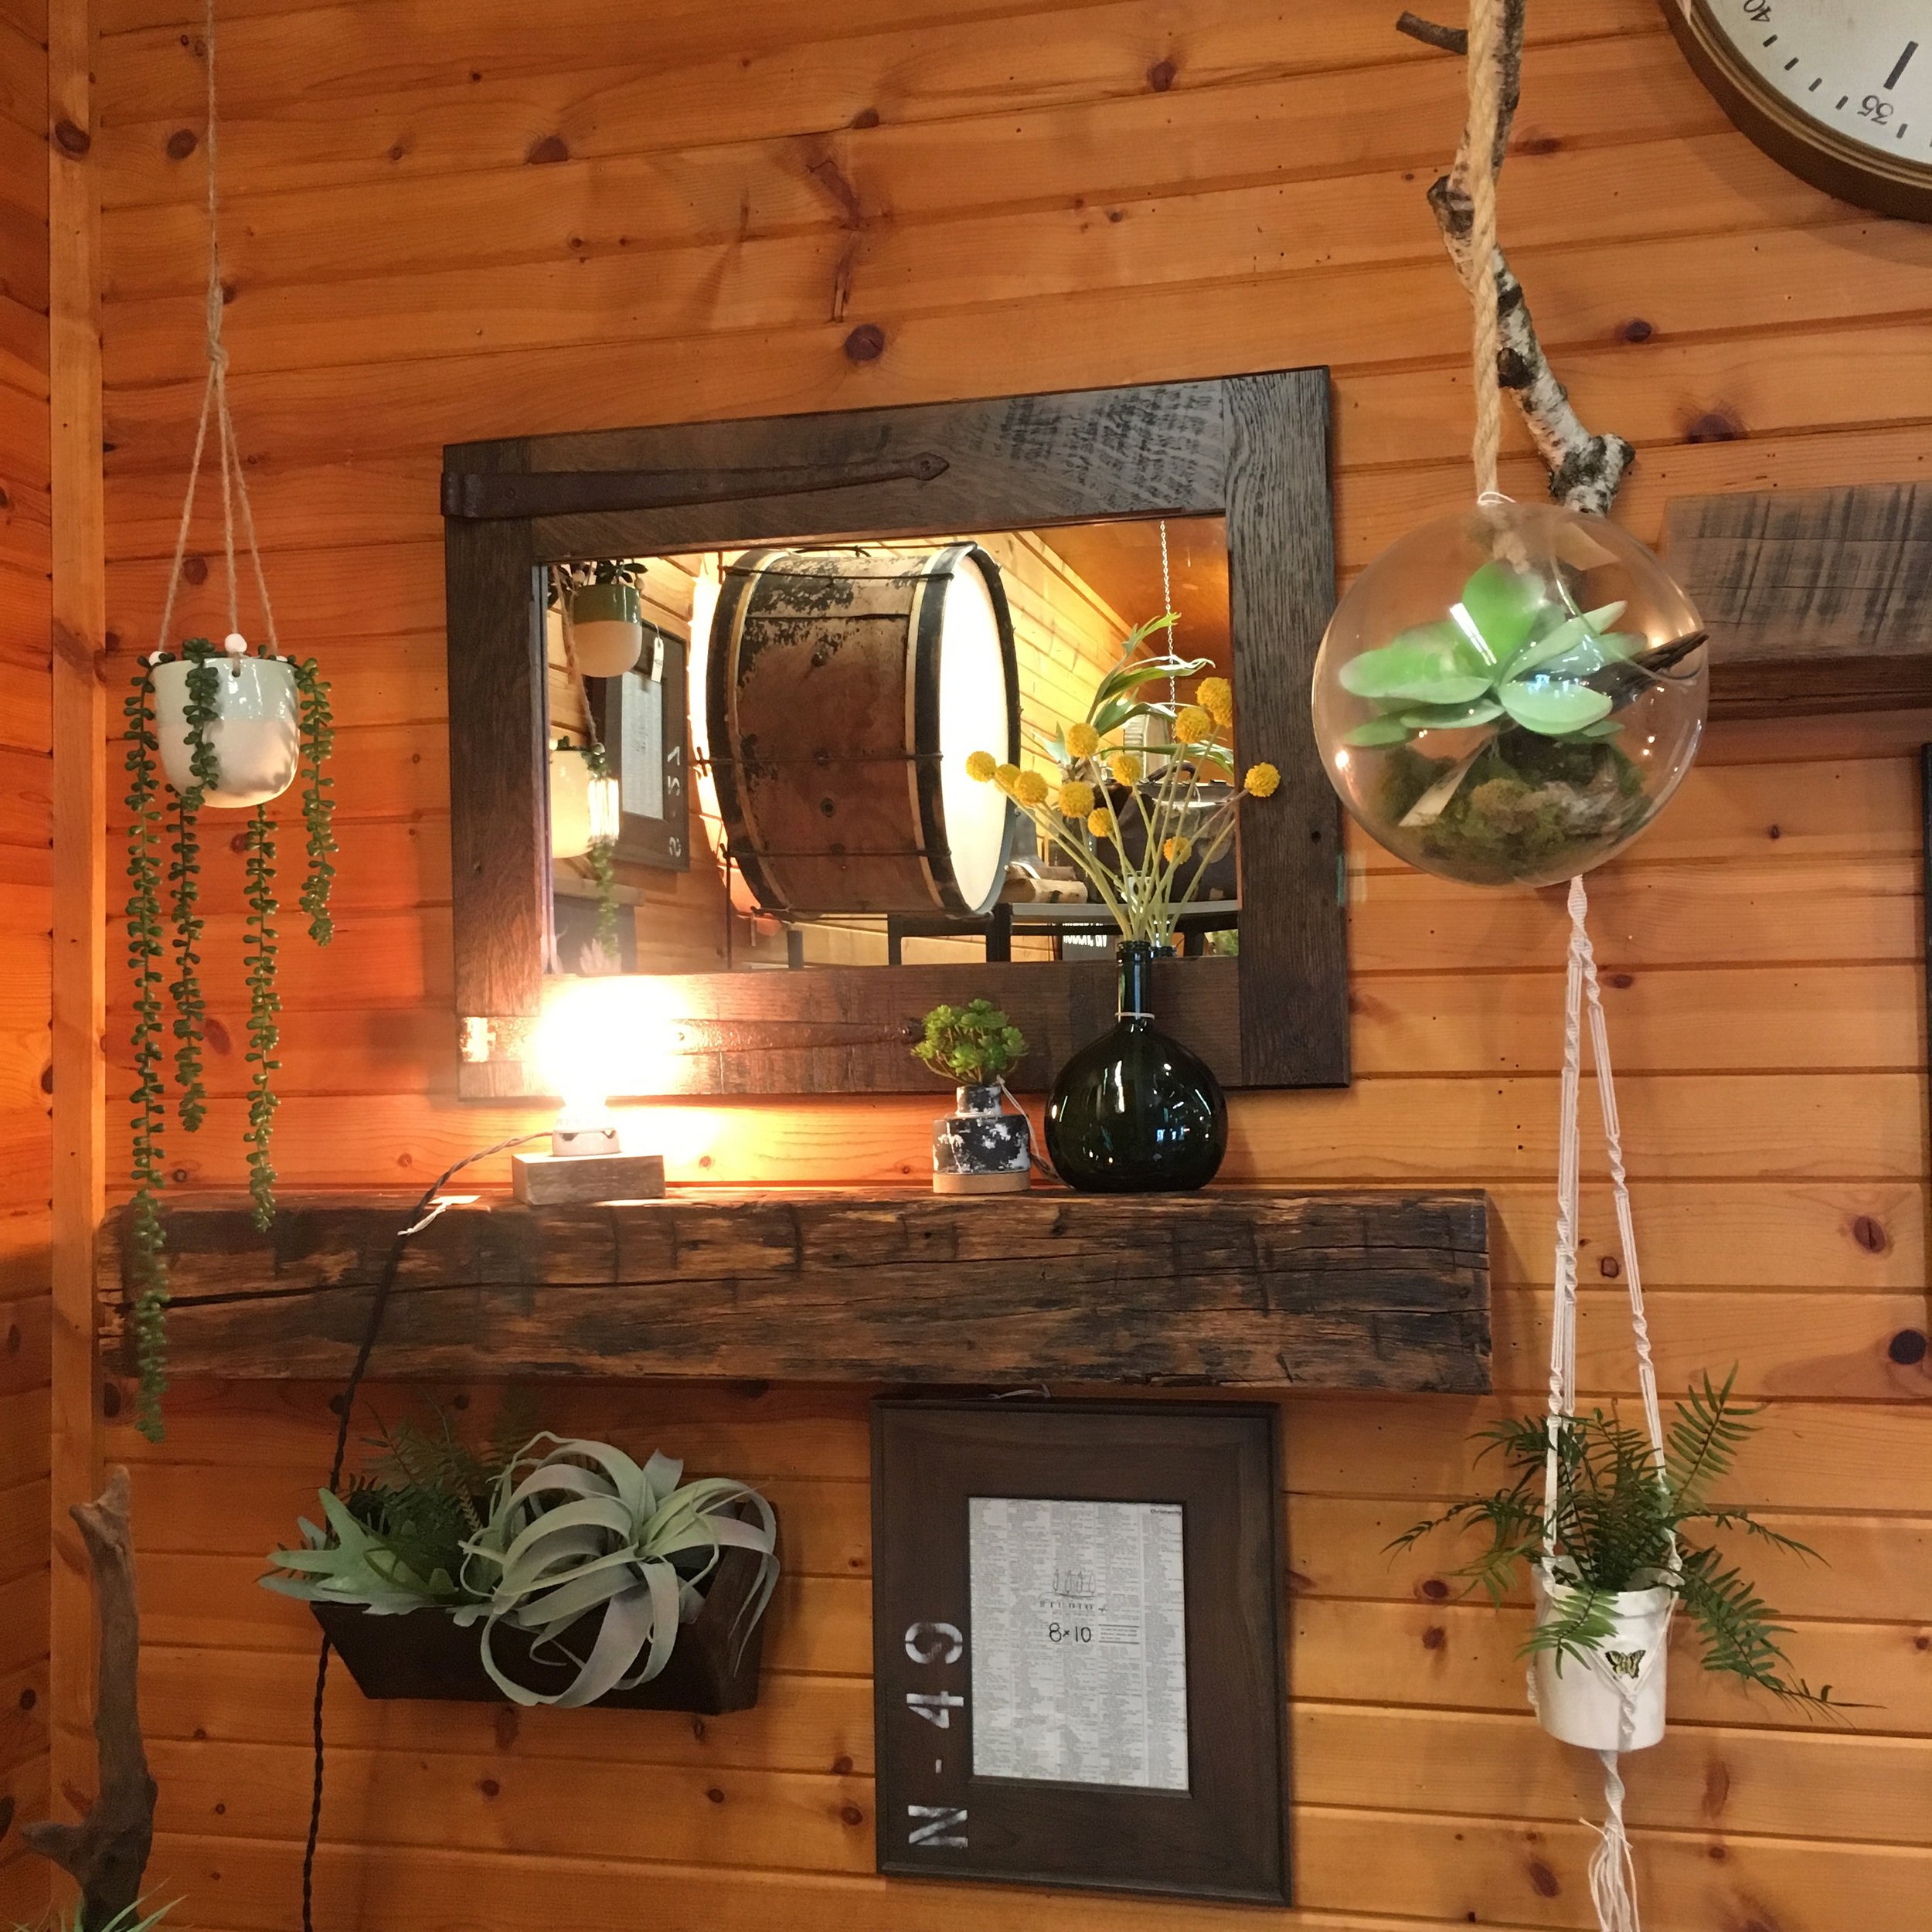
Around this time last year, I learned macrame. It was something that had intrigued me and I searched out tutorials to figure it out. These days with the internet, you can learn anything you want with the search bar. This year I have added an extra layer to my macrame wall hangings by incorporating weaving. It is therapeutic and I love it! It’s never too late to learn something new.

To be Creative means to be in love with life. You can be creative only if you Love life enough that you want to enhance its Beauty, you want to bring a little more Music to it, a little more Poetry to it, a little more Dance to it.
— Osho

This console table features maple with a dark gray glaze and reclaimed cast legs. The shelf is a great place for extra storage. I can see this table being useful in a foyer or for serving food in a dining room. The uses are endless.

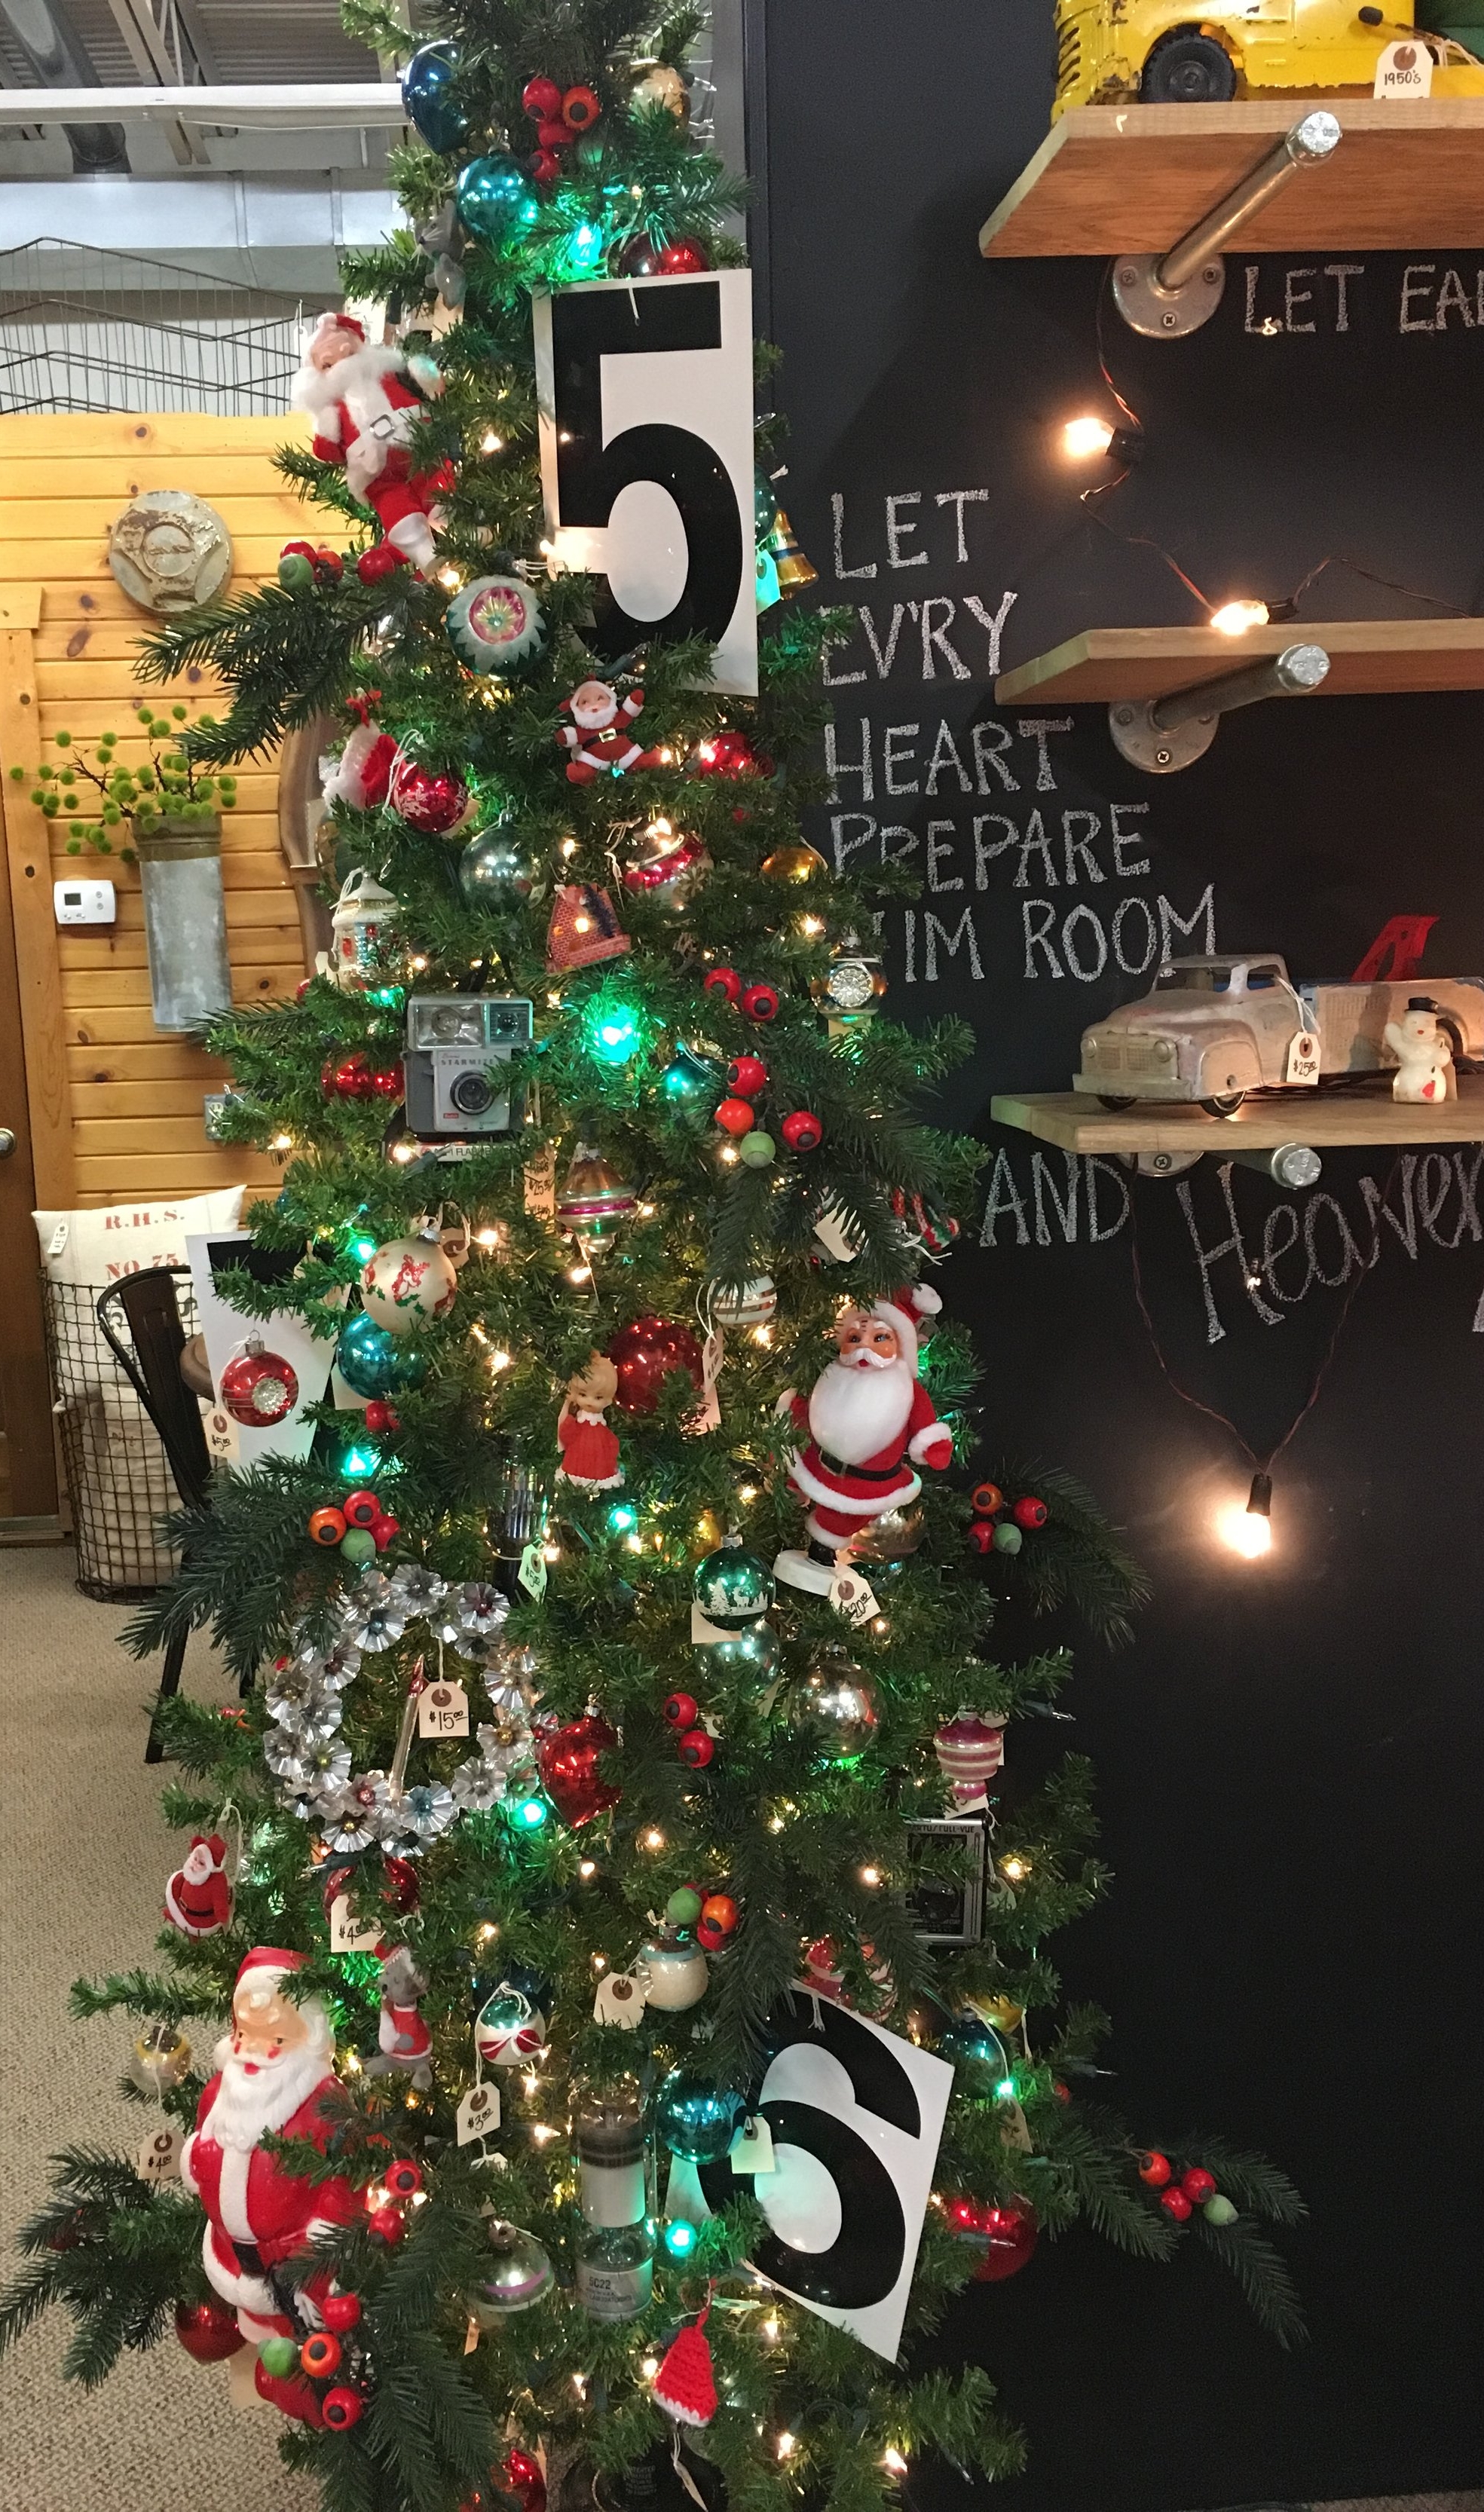
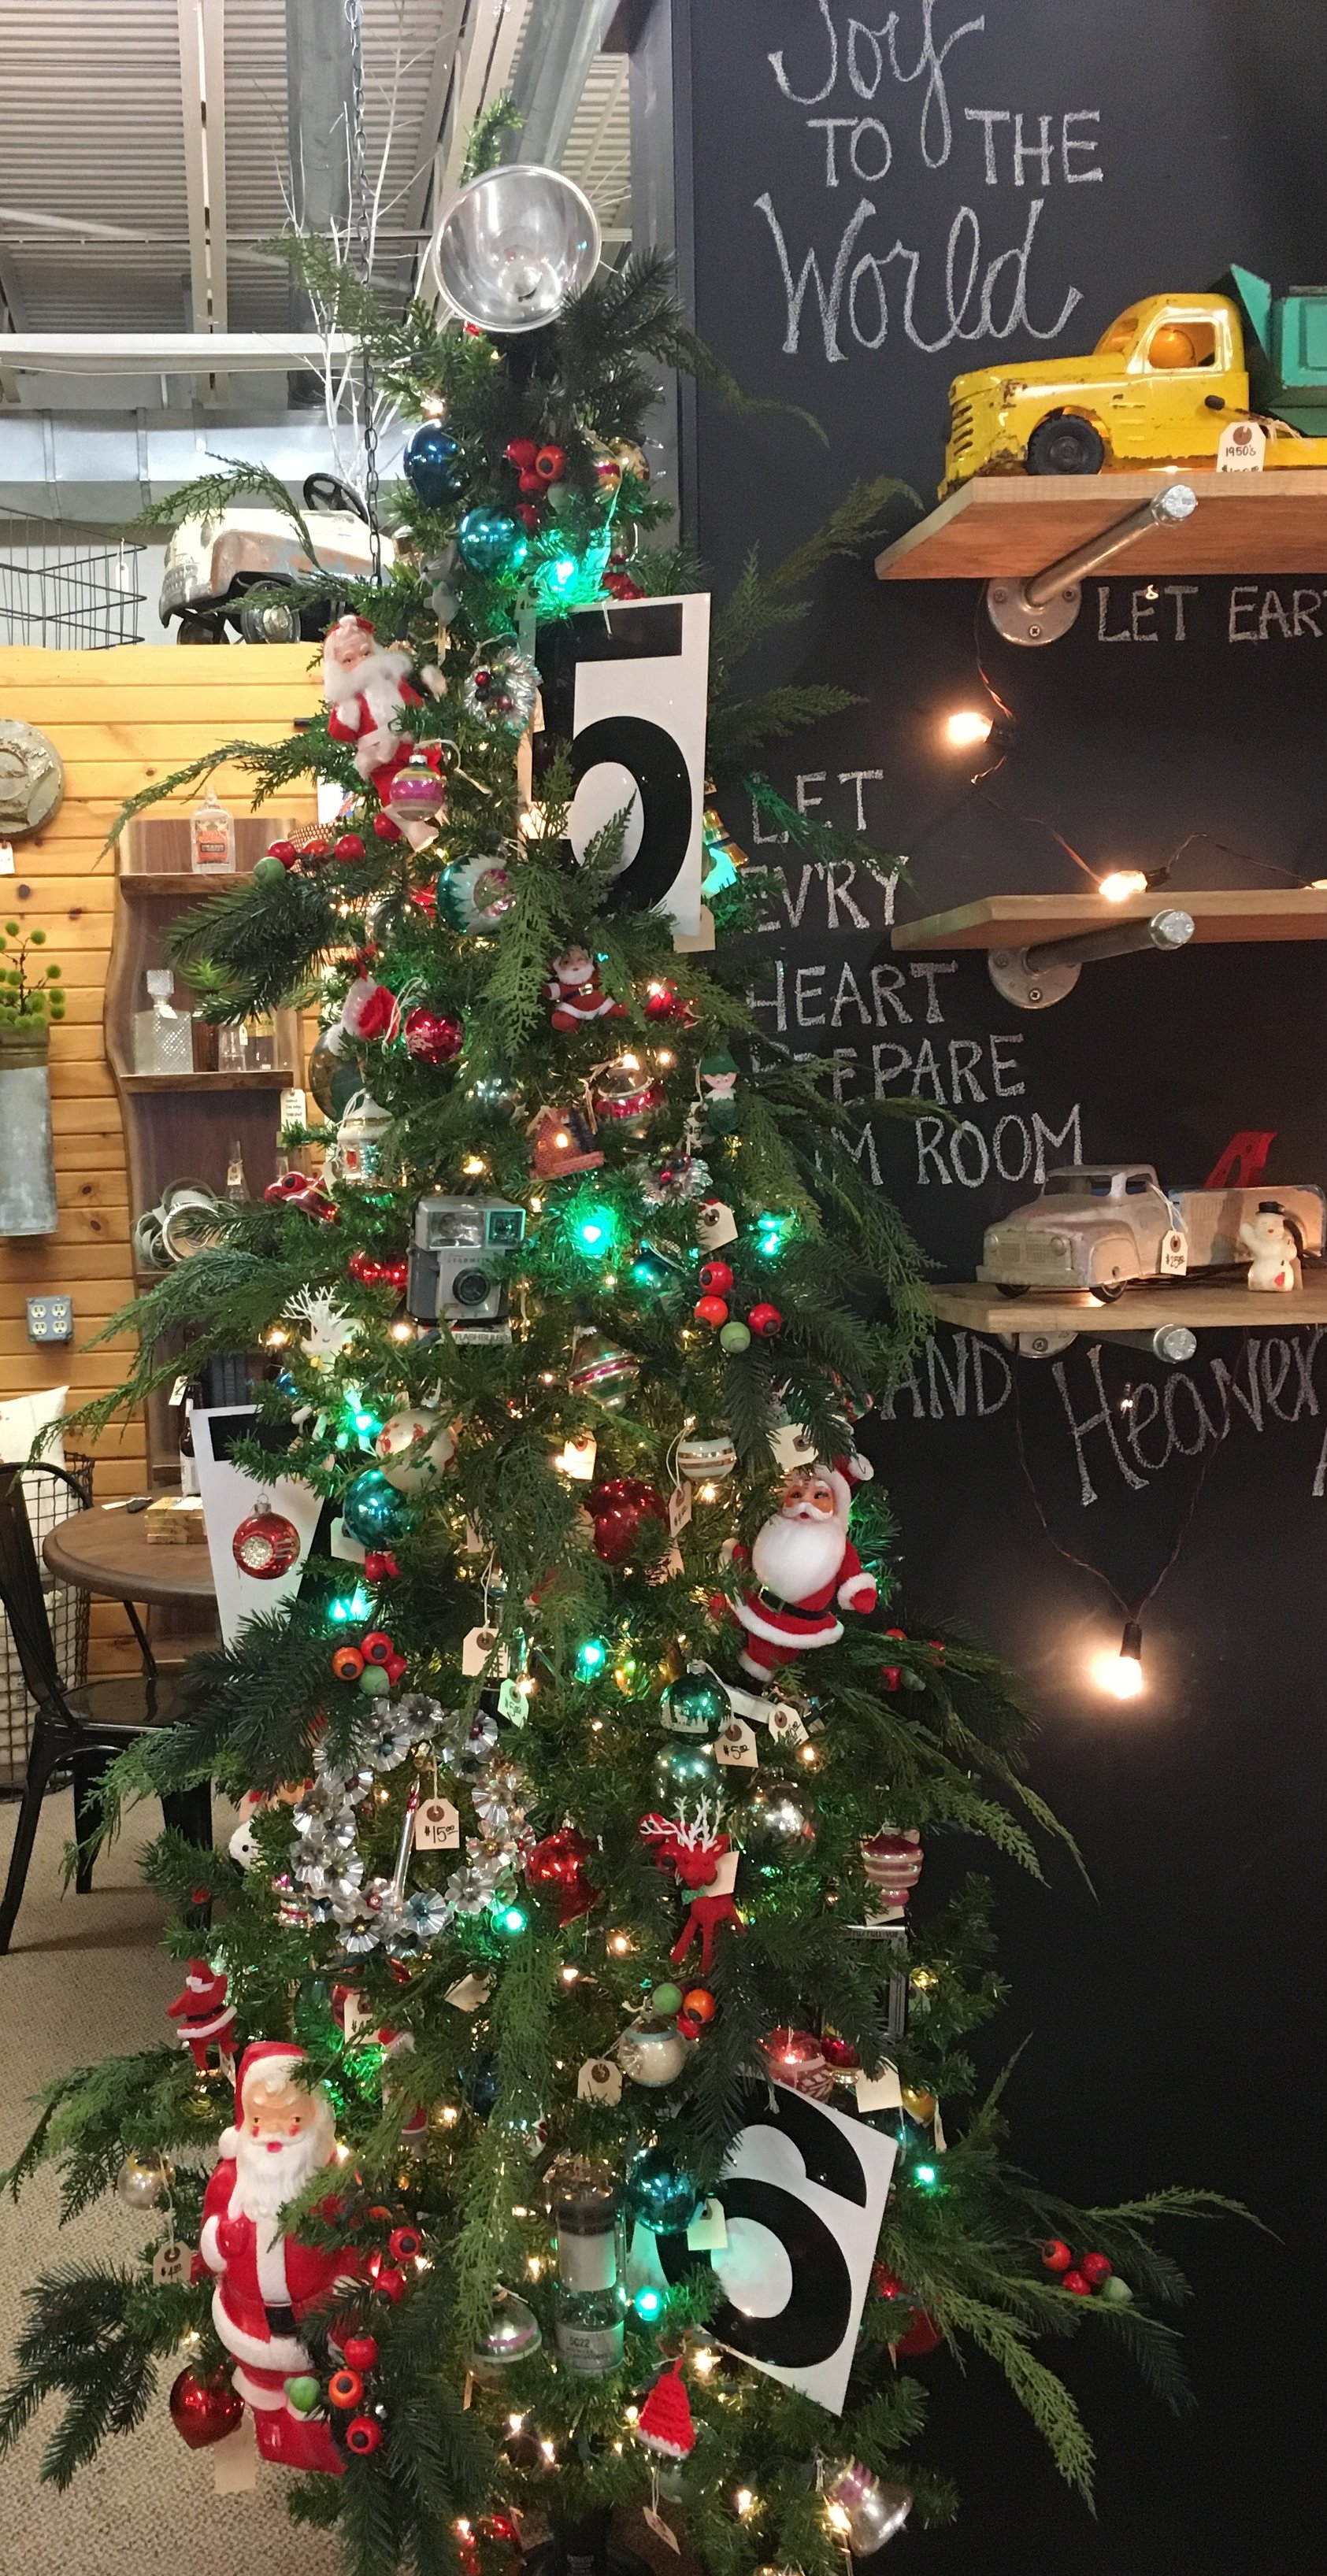
We have added to our camera collection this winter featuring cameras from the early 1900s to 1960s. Not sure what it is about cameras but I love to clean them up and find unique ways to display them.

Plan a trip to Amish Country to explore what’s new. If you aren’t able to shop with us in person, check out our Etsy shop and Facebook page.

Don’t worry. Spring is just around the corner! Until then, enjoy each day that you are given.

Cheers! ~Kathy

Decorate your Christmas Tree like a Designer by Kathy Hochstetler

276.JPG

Follow These

Easy Steps

How do I begin?

It can be an overwhelming feeling when you pull all of those Christmas boxes out of the attic. Am I right? But I’ve got some tips for you to decorate your tree with confidence, like a Christmas elf.

Did you know that I worked at Tis the Season, a local Christmas store, prior to opening our studio? While employed there, I learned many tricks to decorating trees. You have to when you are working with over 70 trees each year!

203.JPG

Set Up and Lighting

Whether you are working with a live or artificial tree, it can be an easy process.

For an artificial tree, start by positioning the bottom section of the tree in the stand. Then fluff that section, which simply means bending the branches around to make the tree look more realistic. After you have that section fluffed, place the next section and repeat until your whole tree is together.

Live and artificial trees are lit in the same fashion. Make sure you are placing those lights in the center of the tree and out towards the branch tips, weaving in and out. A helpful tip: work on half (front/back) of the tree at a time. Start at the bottom of the tree and work your way to the top.

If your tree is prelit, be sure to replace burned out bulbs as you work through each section.

204.JPG

Add Dimension

What’s next? If you are adding some pine/floral picks, this is the time to do that. Just simply fluff (there’s that fancy word again) those picks. Give them movement, make them look like they are real, not flat as cardboard like when you bought them in the store. Add them into your tree to add some character and dimension. I opted to add some different picks into the tree later in the process to fill in some gaps.

205.JPG

Think Big

Pull out all those ornaments and objects that your are putting on the tree. Keep in mind, you need different sizes, shapes and textures to make for a unique tree.

Be creative. As you can see, I used scoreboard numbers and vintage cameras, as well as those traditional vintage ornaments.

Start by adding the largest items on the tree. Tuck them into the tree towards the center.

I know! Your tree can look kinda scary after this step but TRUST me. After each layer the tree looks better and better.

206.JPG

Now, the FUN Part!

Keep adding the ornaments to the tree. Just work from large to small. Tucking those larger items towards the center of the tree, filling in those gaps. As you get to the smaller ornaments, work your way out to the ends of the branches. This gives your tree dimension, are you tired of hearing that word yet?

If you are going with a monochromatic theme, be sure to use shades of the color. Just another designer tip.

207.JPG

Finishing Touches

Next, I added another pine pick. Position throughout the tree to fill in the gaps.

If you are using a garland, this would be the time to add that onto your tree. I find it easier to start at the bottom and work your way to the top. And only work on half of the tree at a time, start with the front first.

Are you traditional and love a big bow at the top of the tree? Now is the time to put it on the tree.

013.JPG

That wasn’t so hard, was it?

Don’t forget to hide that ugly tree stand with a tree skirt.

A very important step: grab your favorite beverage, sit back and enjoy the twinkling lights.

Remember to get creative and make your tree a reflection of your personality.

Merry Christmas!

Much Love,

Kathy

Express your style by Kathy Hochstetler

327.JPG

Create a Home You Love


Start with what you love

When it comes to styling your home, start with what you love.  Your instincts are right.  I hear so many people say that they love a style but it can't be incorporated into their home.  I beg to differ.  Styles and textures mix to create your own unique style.  You do not need to stick with one distinct look.  That's what is great about today design, anything goes.  Don't be afraid to create a home that is a unique expression of you.  Be bold.  Be different.  Find things that not just anyone will incorporate into their home.

Start with that one item that you really like and build around that, whether it is a piece of furniture, art work or a plant.  Add accessories with similar content, color, or texture.  Take your time with this process.  Be sure to find the things you really like without compromising.  Before you know it, you have a cohesive look that is uniquely you.

Color

Adding color into your space can easily be done.  Generally, the way I use color is to repeat it at least three times in a space.  I am a color lover and enjoy adding pops to any space.  The trick is placement of the color, making your eye dance around the room to take it all in.  Plus, different textures are important.  Although, there is something striking about adding a stand alone bold colorful piece into your space.  

007.JPG

Texture

Different textures and mediums help to soften your space and add warmth and interest.  Bringing in the outdoors with plants helps to soften hard lines, whether they are real or faux plants.  Pillows and throws with varying textures adds another layer.  Especially if you are sticking with a neutral pallet, texture is important.  It creates contrast and helps everything to not blend together.  I find that keeping things simple and clear of clutter lends to a more relaxing setting to live in.

022.JPG

Get started today

Don't hesitate on starting to change your home.  Start today and take small steps towards your ultimate goal.  No matter your budget, you can make simple changes that will have a big impact.  A lot of time is spent in our homes and we might as well enjoy them.  I would love to see how you are making your house a home.  And if you have any questions, ask away.  I will do my best to answer.

Much Love, 

Kathy